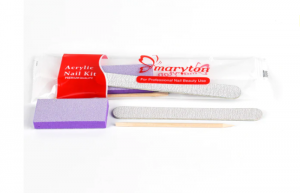
UV gel nails are used more and more nowadays. Do you know how to apply it? In this blog, your expert nail supplier Maryton will tell you about the different stages of building colored UV gel nails.
Nail preparation
First of all, it is important to know if the length of your nails suits you, if so, you can perform a gel nail application on natural nails. Otherwise, you will have to proceed with an extension with capsules or using templates.

Clear UV gel construction
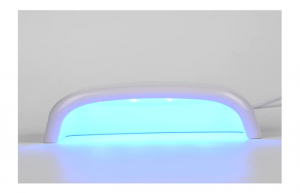
Once the preparation of your nails is done, you can start the application using either a transparent base UV gel or a transparent monophase UV gel. Using a medium sized flat brush apply a thin coat of base UV gel or monophase UV gel over the entire surface of the nail like a regular nail polish. Be careful not to touch the cuticles. Catalyze your nails for 2 minutes under a UV lamp, then it is not necessary to sand and/or degrease the nail.
Applying color gel
First, apply a layer of colored UV gel to cover the transparent UV gel. Then pass your hand for 2 minutes under the UV lamp. Repeat the step a second time, then degrease the nails using a cotton pad soaked in cleaner.

The finishing step
Nail art sequins, rhinestones, striping tape, stickers, water decal or even stamping, it’s up to you! Finally apply the finishing gel or UV top coat and pass your hand under the UV lamp for 4 minutes. Finally, degrease the nails with a cotton pad soaked in cleaner.
We hope this tutorial will have helped you for you. In addition to these, I advise you to invest in a complete manicure supply! To help you in your choice, I invite you to visit our website.
Read also: Why choose a french manicure UV gel kit?
You must log in to post a comment.